With Coachella just around the corner, we can’t stop thinking about the beautiful boho looks that will be pouring into our Instagram feeds from America’s biggest festival.
Coachella is the perfect opportunity to let loose and have some fun with fashion. For festivalgoers who want to break away from the usual flower crowns, we cannot give enough love to artfully undone braids.
In this tutorial from stylist Brittany Craig, you can create three show-stopping looks (with an option for the beginner, intermediate, or advanced braider) from a simple Dutch braid base. Read on for her steps to perfect your new festival favourite!
PRODUCTS
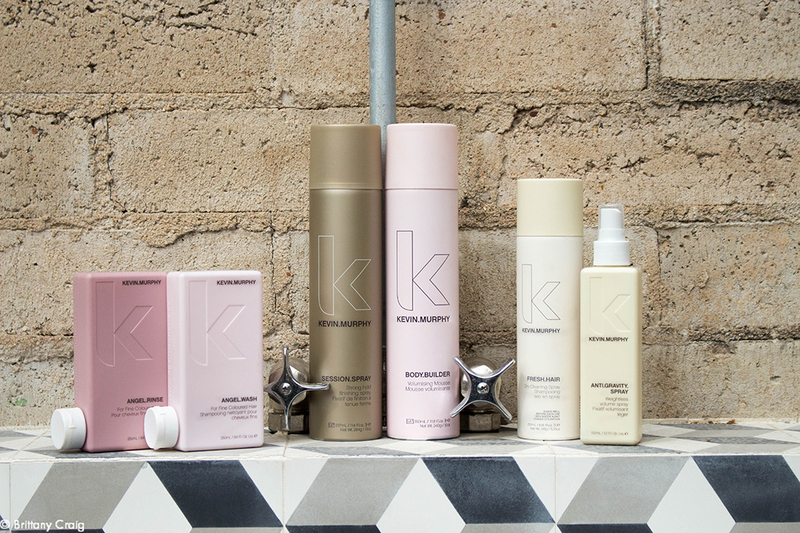
To best achieve the look, wash with ANGEL.WASH and RINSE, then apply BODY.BUILDER to the roots and ANTI.GRAVITY.SPRAY to the ends. On second-day hair, mist FRESH.HAIR onto the base for a cleaner look. Then, finish your look with SESSION.SPRAY to keep each strand in place.
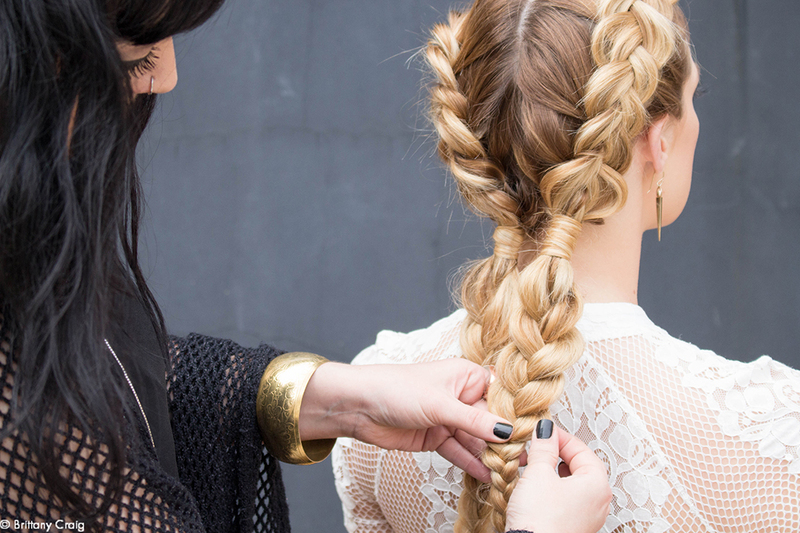
BASE BRAID
The base of all three looks is two simple Dutch braids, with the hair parted down the center. Make sure hair is combed through well (I prefer using the TEXTURE.COMB) and keep your sectioning clean.
Create the three strand Dutch braids using the underhand technique, as opposed to the overhand technique used in traditional French braiding.

Once the braid is complete and secured with a small rubber band, loosen by gently pulling each strand out to create a softer look. Take a strand of hair from the pony and wrap it around the rubber band for a finished look. Secure at the back with a bobby pin.
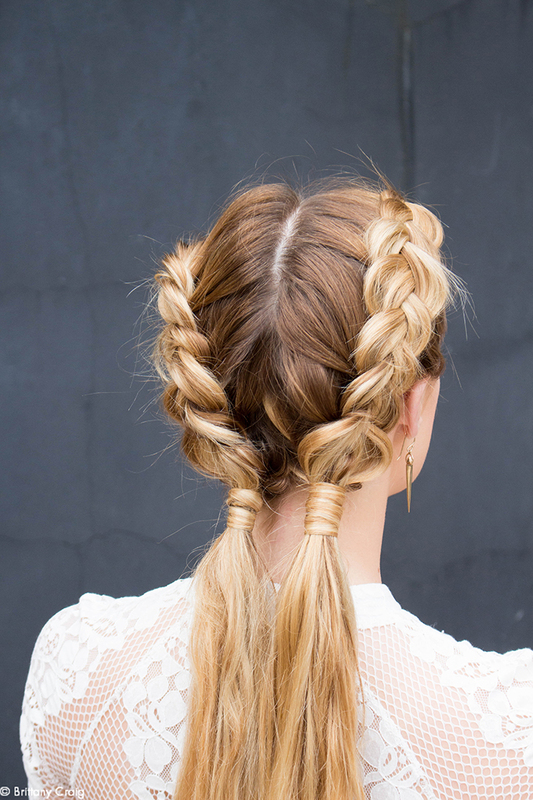
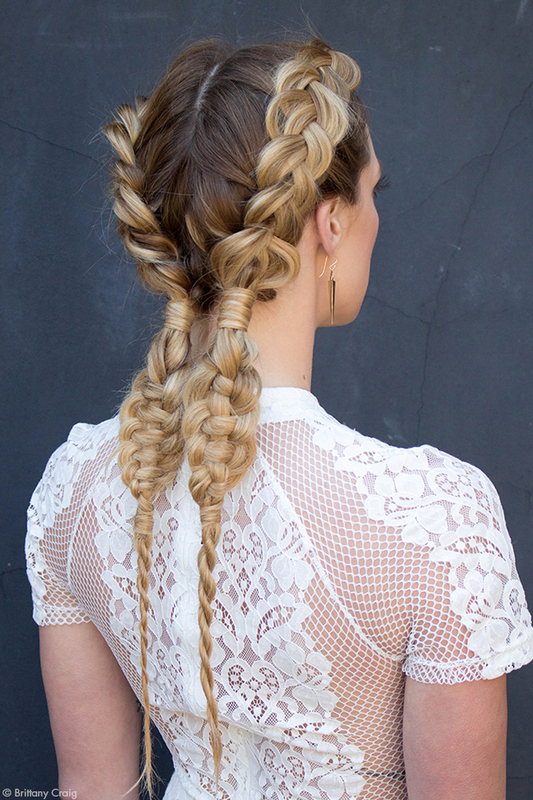
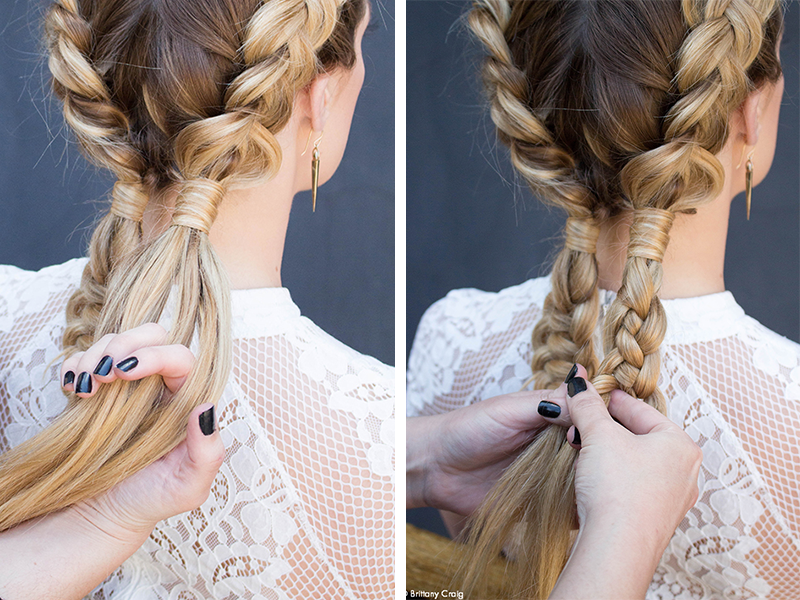
LOOK 1: BEGINNER
Create two simple three-strand braids, then loosen.
Finish by wrapping the ends with a strand of hair over the rubber band, securing with a bobby pin at the back with the open prongs hidden inside the braid.
LOOK 2: INTERMEDIATE
Create two fishtail braids, taking small sections for a more intricate look. Once complete, loosen the braid.
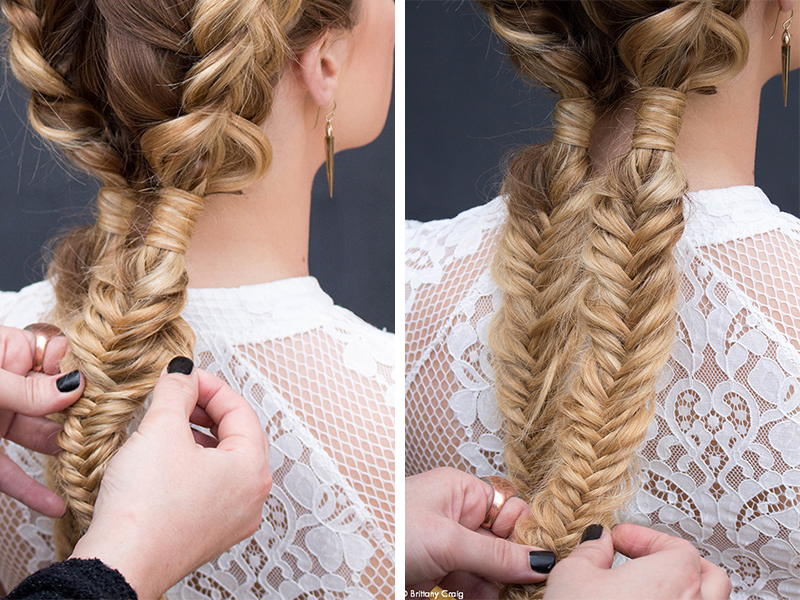
Take the time to further deconstruct the fishtail braid by pulling each strand out a bit. Don’t forget to finish wrap the ends with a strand of hair.
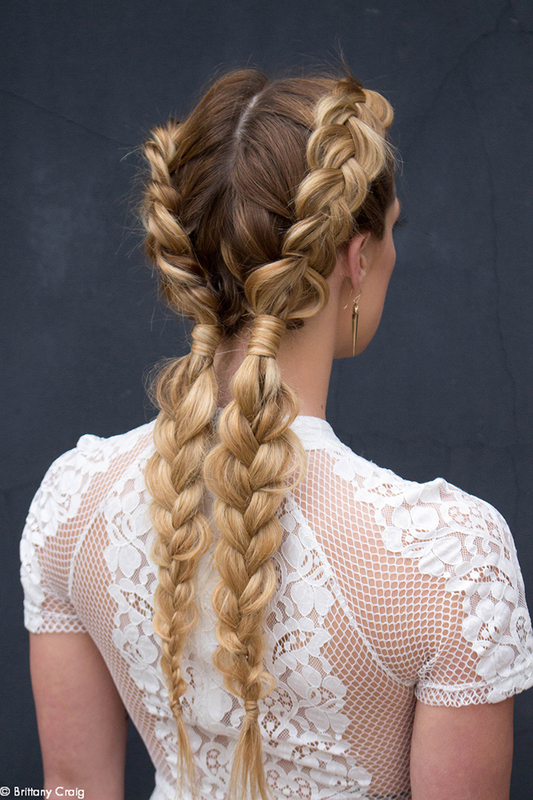
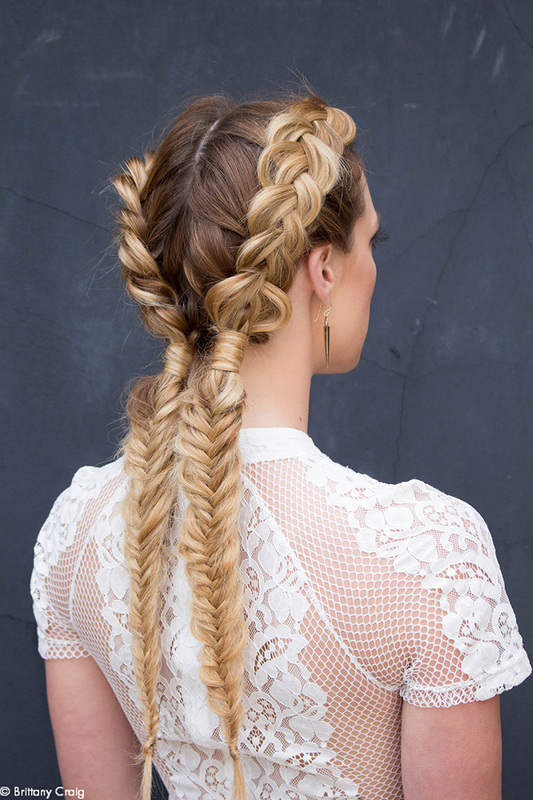
LOOK 3: ADVANCED
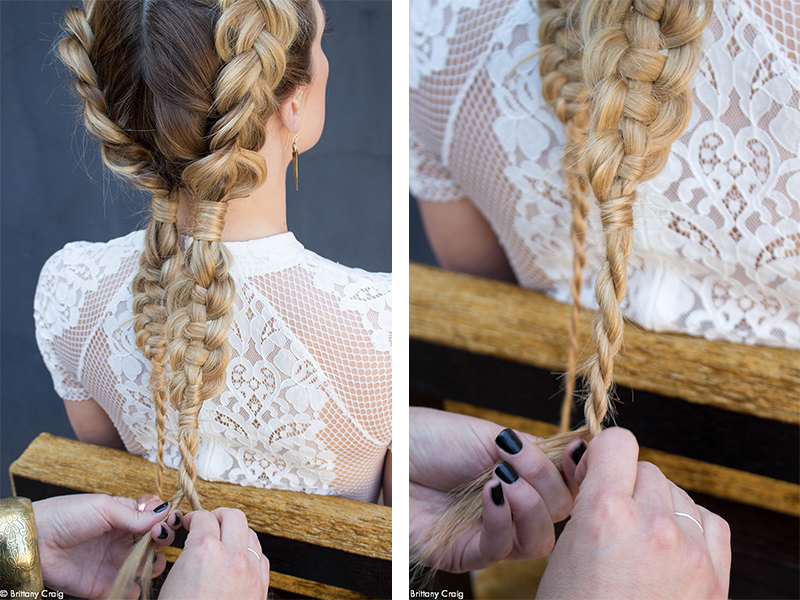
Create two four-strand braids that transition into rope braids. Section hair into four strands. From there, you will create a weaved pattern the hair. From left to right number your strands 1, 2, 3, and 4. Note that strand 3 will never move.
Begin by taking strand 1 over 2, under 3, and over 4. For the next row (moving right to left) take strand 4 over 3 and under 2. Next (moving left to right) take 2 under 3 and over 1. This will bring you back to strand 1, which will move right to left over 3 and under 4. Keep going over under, from side to side.
Once you have come to a stopping point, find strand 3 which should still be in the same place. Hold onto strand 3 and push the rest of the braid up to its base.
Adjust any pieces by gently pulling to create symmetry. Take a strand of hair to finish wrap the ends before moving onto the rope braid.
To begin the rope braid, section two strands. Twist strands individually to the left. Once tightly wound, twist strand 1 over 2 and complete the rope braid. If the braid is small enough it will secure itself, however, you can finish with a small rubber band.
CREDITS
Photographer – Ally Ingram
Model – Stephanie Spurrier
Stylist – Brittany Craig (Austin, TX)
For more hair tutorials and inspiration, stalk KEVIN.MURPHY on Bangstyle!