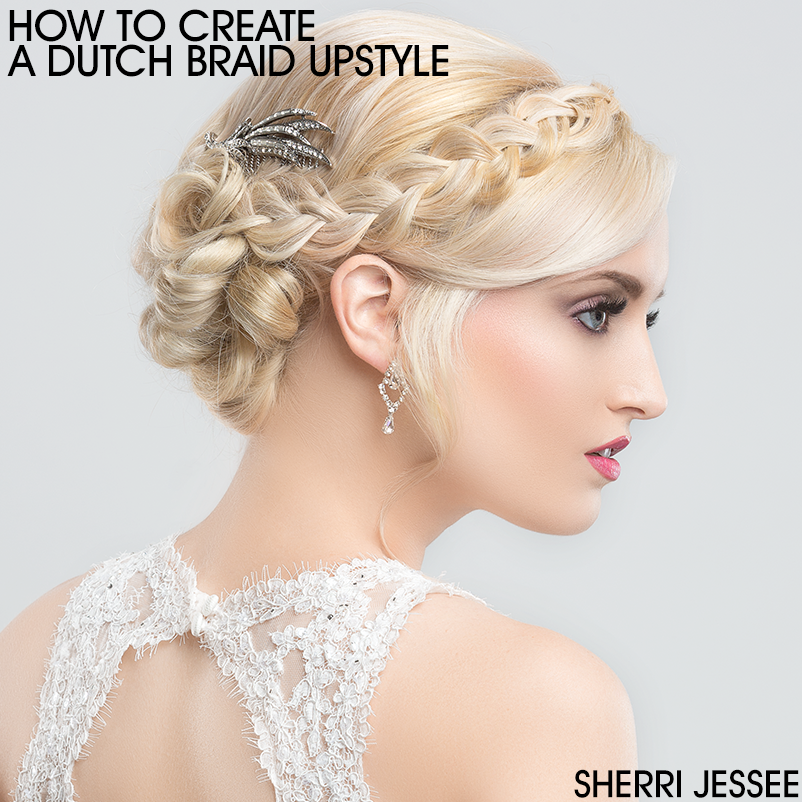
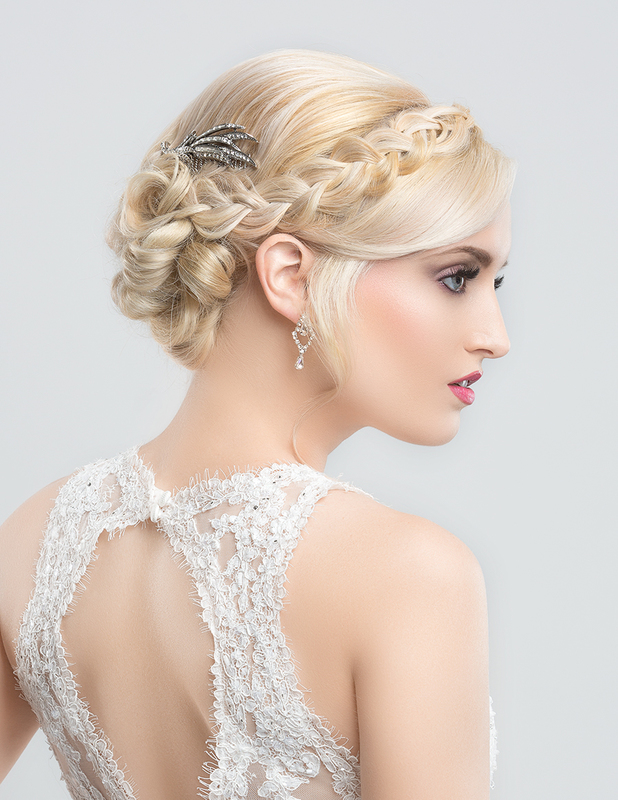
Dutch braids are a great addition to any style. They give the same charm as French braids and add an extra twist! See how Sherri Jessee created this beautiful upstyle, perfect for any occasion from a wedding to prom, in this step-by-step tutorial!
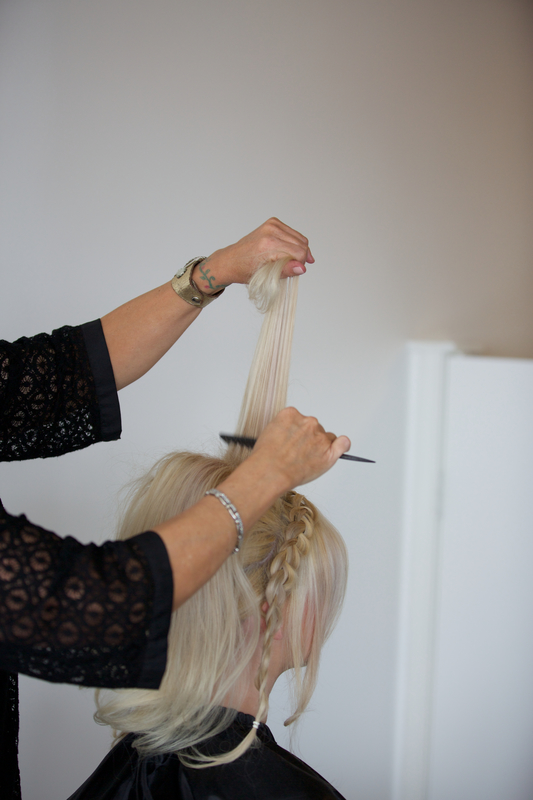
STEP 1: Create a two inch section in front of the hairline and do a single dutch braid. You can even leave some pieces out in the bang area to create some softness.
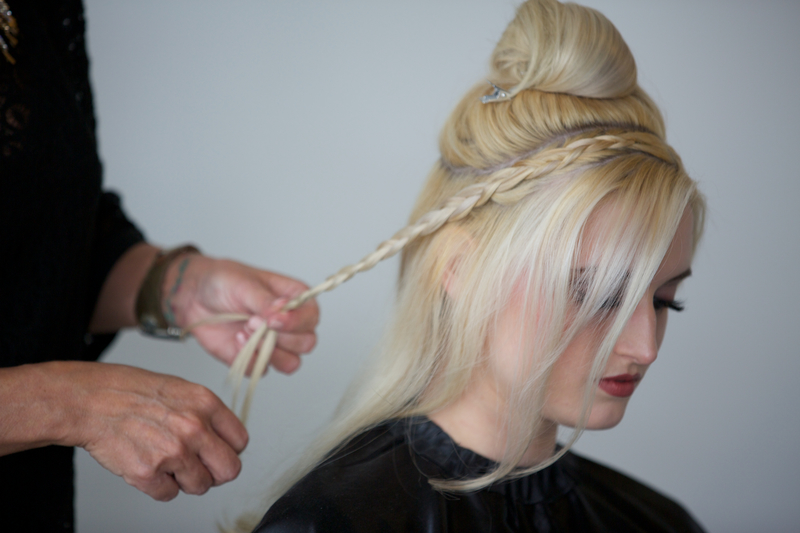
STEP 2: Beginning at the bottom and working your way to the top, pull small pieces out of the braid to make it larger.

STEP 3: Do a Dutch braid on the opposite side.
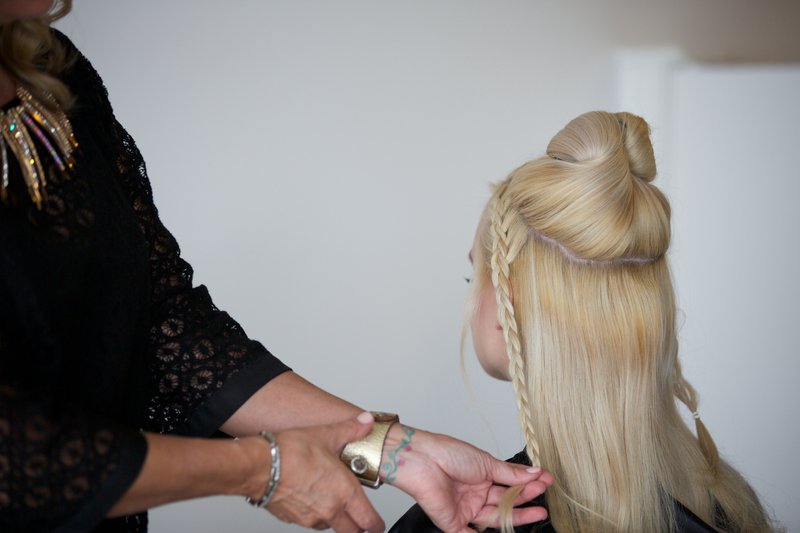
STEP 4: Pull the braid out on this side as well to make it larger, looser and more romantic.

STEP 5: Create loops with the hair in the crown area and secure. (You can pin or sew these into place)
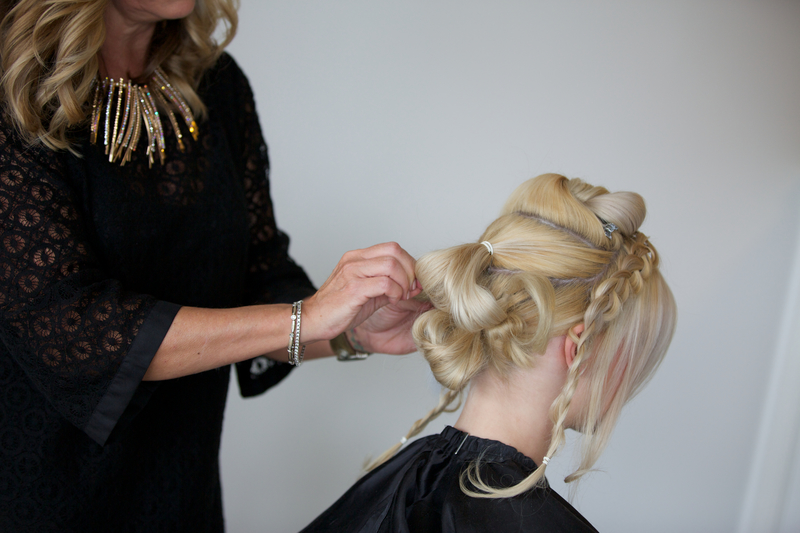
STEP 6: Tease the top section and smooth it back.
STEP 7: Marry the top section into the back, smoothing it over the loops and secure, looping and pinning the ends in.
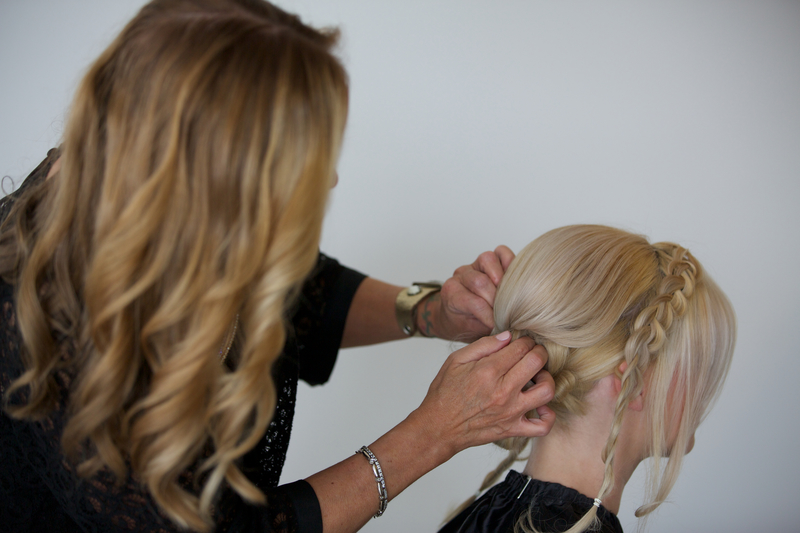
STEP 8: Wrap the braids across the back of the head, then tuck the ends and secure.
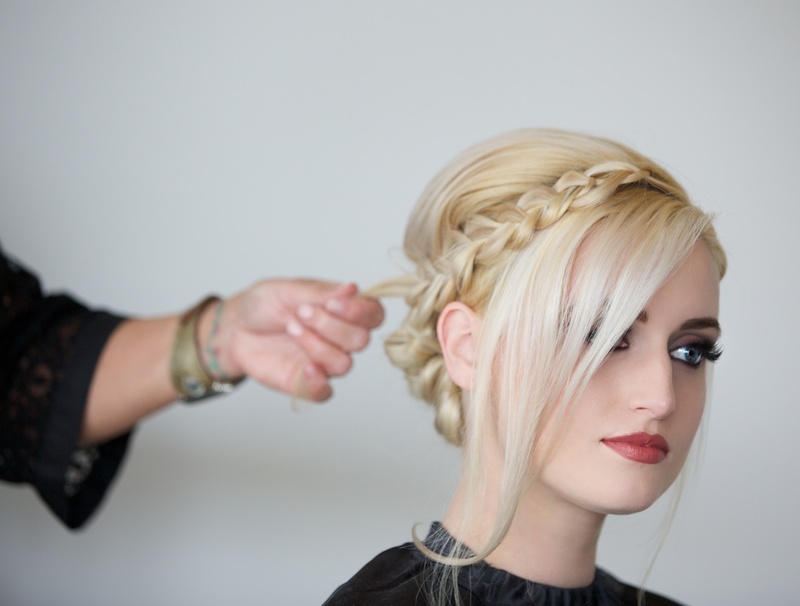
STEP 9: Smooth the fringe area, sweep it back and secure.
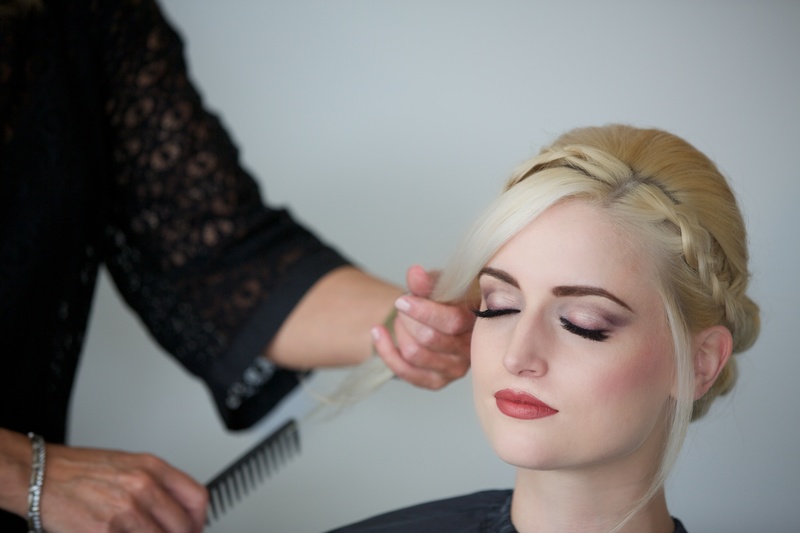
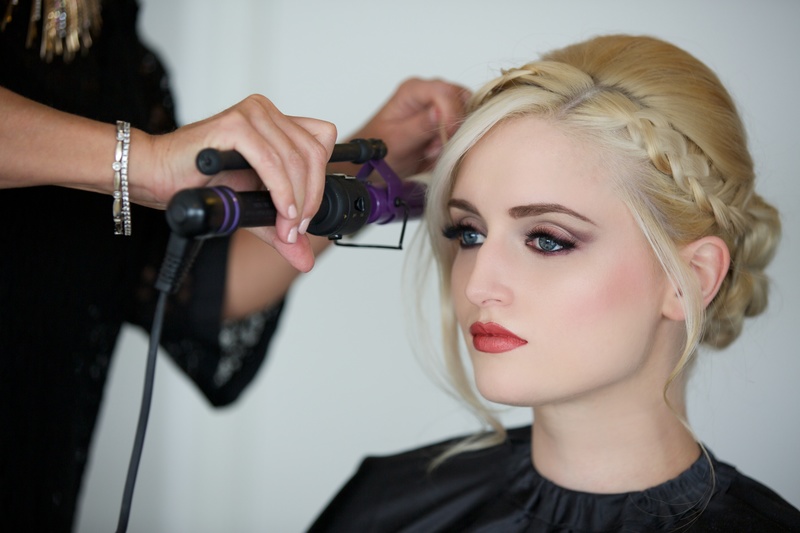
STEP 10: Wrap loose tendrils around a 1” curling iron. Then finish by spraying with NEVO Super Shape Hairspray.
Be sure to stalk Sherri Jessee on Bangstyle for even more ideas for Prom and check out hair inspiration, here!