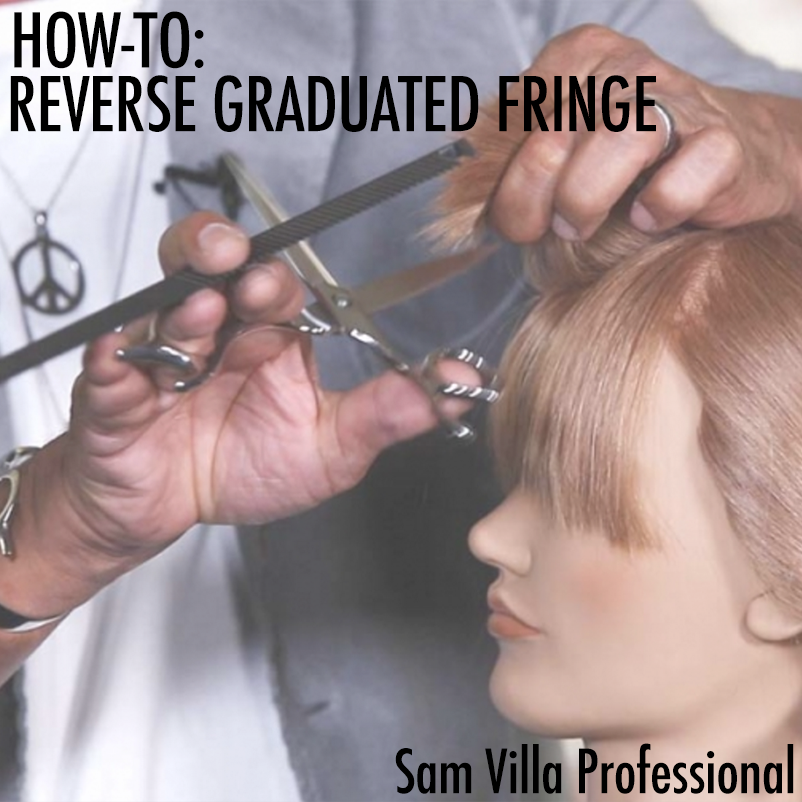
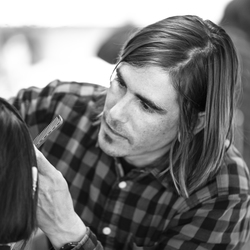
Fringe is IN! You may be wondering how to create a lush looking fringe, a reverse graduation is the key! "You can create the heavier disrupted fringe that’s popular right now,” says Sam Villa. Sam explains that he wants stylists to think inside out for this technique, instead of cutting the perimeter first and then layering the fringe, approach the task in reverse. Take a peek at the steps below and follow along with the video below to learn how to bevel your new fringe!
Reverse Graduated Fringe
- Create a triangle section for the fringe area that will be cut in 3 sections.
- Take the first horizontal section at the top of the triangle, slide fingers to desired length and point cut with Sam Villa Signature Series 7” Dry Cutting Shears – the longer blades allow for a deeper point cut. Keep the guide blade resting on the ring finger to stabilize the hand and scan cut through the section.
- Take the second (middle) section, elevate diagonally above the horizontal, rest the guiding blade on the ring finger, and point cut slightly deeper than the first section.
- Elevate the last section up to the guide with the finger angle behind the guide to allow for a deeper cut. Again, rest the guide blade on the ring finger and point cut the section.
- With the hair at natural fall, establish the length – keep the shear at a diagonal to remove length and add visual texture.
- To soften the edge, take vertical sections and open and close the shears while rounding fingers out until all the hair is cut.
The result is a full fringe with rough disrupted edges that can be beveled with a comb and Sam Villa Signature Series Professional Straightening Iron for more body.
Love this look? Be sure to stalk Sam Villa on Bangstyle to stay up to date with his latest tricks and trends!
