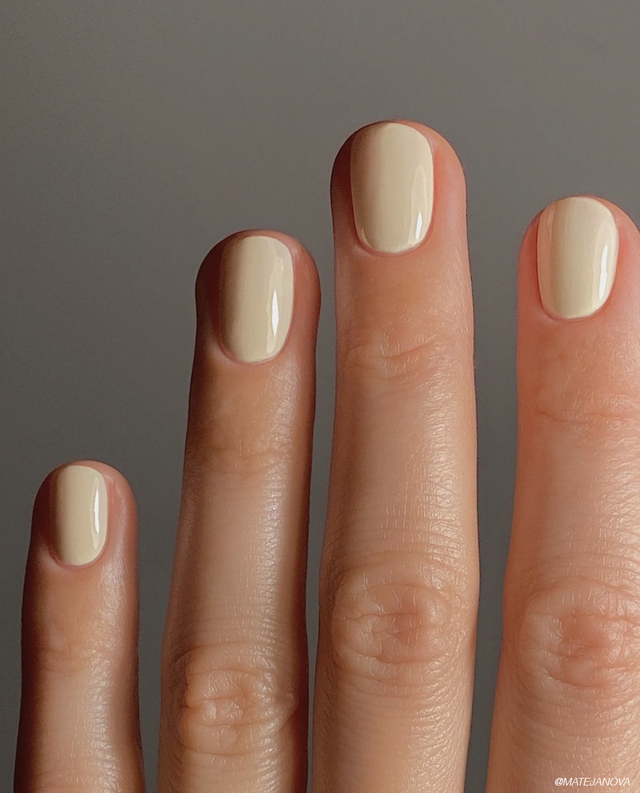
We love being treated at the nail salon as much as the next person. But whether you’re traveling, don’t have time to fit it into your schedule, or simply want to treat yourself at home, we’re uncovering the top DIY tips for the perfect at-home mani! This go-to guide is ideal for achieving salon-worthy nails from the comfort of your own home. Below we’re exploring expert tips, and budget-friendly hacks that will leave your nails looking polished and perfect.
The Top At-Home Manicure Tips
Tip #1: Remove the remaining product
Regardless of whether you want to remove or reapply, you’re going to need to take off whatever is still on your nail. If you’re wearing standard polish, soak a cotton ball in polish remover and rub off the polish. If you’ve been sporting gel polish, dip powder, or acrylic, you need to do some serious soaking. First, buff the top layer of color off of the nail, then dip a cotton pad into an acetone-based remover and apply it on top of each nail. Wrap the nail in foil and allow the remover to sit on your nails for 10-20 minutes (typically 10-15 minutes for gel, 15-20 for dip powder and acrylic). Once you’ve let the remover sit, use the rounded edge of a cuticle pusher to gently remove the remaining product. Still having trouble getting the product off? Fill a bowl with acetone and dip your nails directly into the bowl for 20 minutes or longer. Keep in mind that this is extremely drying to the skin, so have a good cuticle oil on hand.
Tip #2: File, don’t cut
If you’ve been growing out your natural nails, don’t ruin your efforts by taking a nail clipper and chopping them down to stubs. Instead, bust out your trusty nail file and use it to shorten your tips and create your desired shape (square, round, oval, almond, etc.). Always file in one direction rather than back and forth, which can cause splitting and tearing.
Tip #3: Push, don’t cut
See a pattern here? Cutting your cuticles can leave you prone to infection, something you definitely don’t want during social distancing. Instead, soak your nails in warm, soapy water for 10 minutes, then use a cuticle pusher to gently remove any non-living skin attached to the nail plate. Doing so will help your polish go on smoother and will prevent any type of lifting.
Tip #4: Prep like a pro
Unless you feel like living with stained nails, it’s important to take the proper precautions when applying any type of product. Use a cotton pad soaked with alcohol to remove any excess oils on the nail plate, then apply a base coat that fits your needs (i.e. ridge-filling, repairing, hardening, etc.).
Tip #5: Adopt the 3-stroke method
Ever wonder how pros apply polish so flawlessly? They typically follow the 3-stroke method: First, apply a small drop of polish to the center of the nail, right above the cuticle area, then use the brush to “push” the polish toward the cuticle. Next, “pull” the polish in a straight line toward the free edge. That’s your first stroke. Then, return to the base and “swipe” the polish along one side of the nail to the free edge and repeat on the other side. By your third stroke, the entire nail plate should be covered. Apply 2-3 coats to achieve desired coverage, allow polish to dry or cure (if gel polish), then finish with a high-shine top coat.
Tip #6: Don’t skimp out on your feet
If there’s any time we could all use some extra relaxation, it’s now! Take the time to perform all essential steps when giving yourself an at-home pedi: Soak your feet in warm water for 10-15 minutes, gently exfoliate any rough patches, and enlist your significant other for a foot massage!


