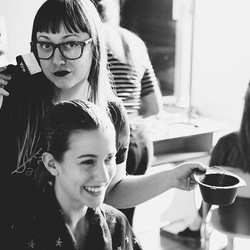
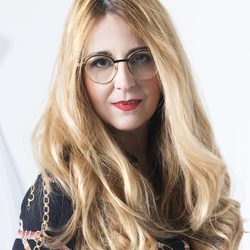
Gone are the days of joining a tribe and doing things one (or their) way. The age of innovation is upon and the key to success in 2017 will be combining techniques from many different tribes to achieve modern looks that add value to your guests.
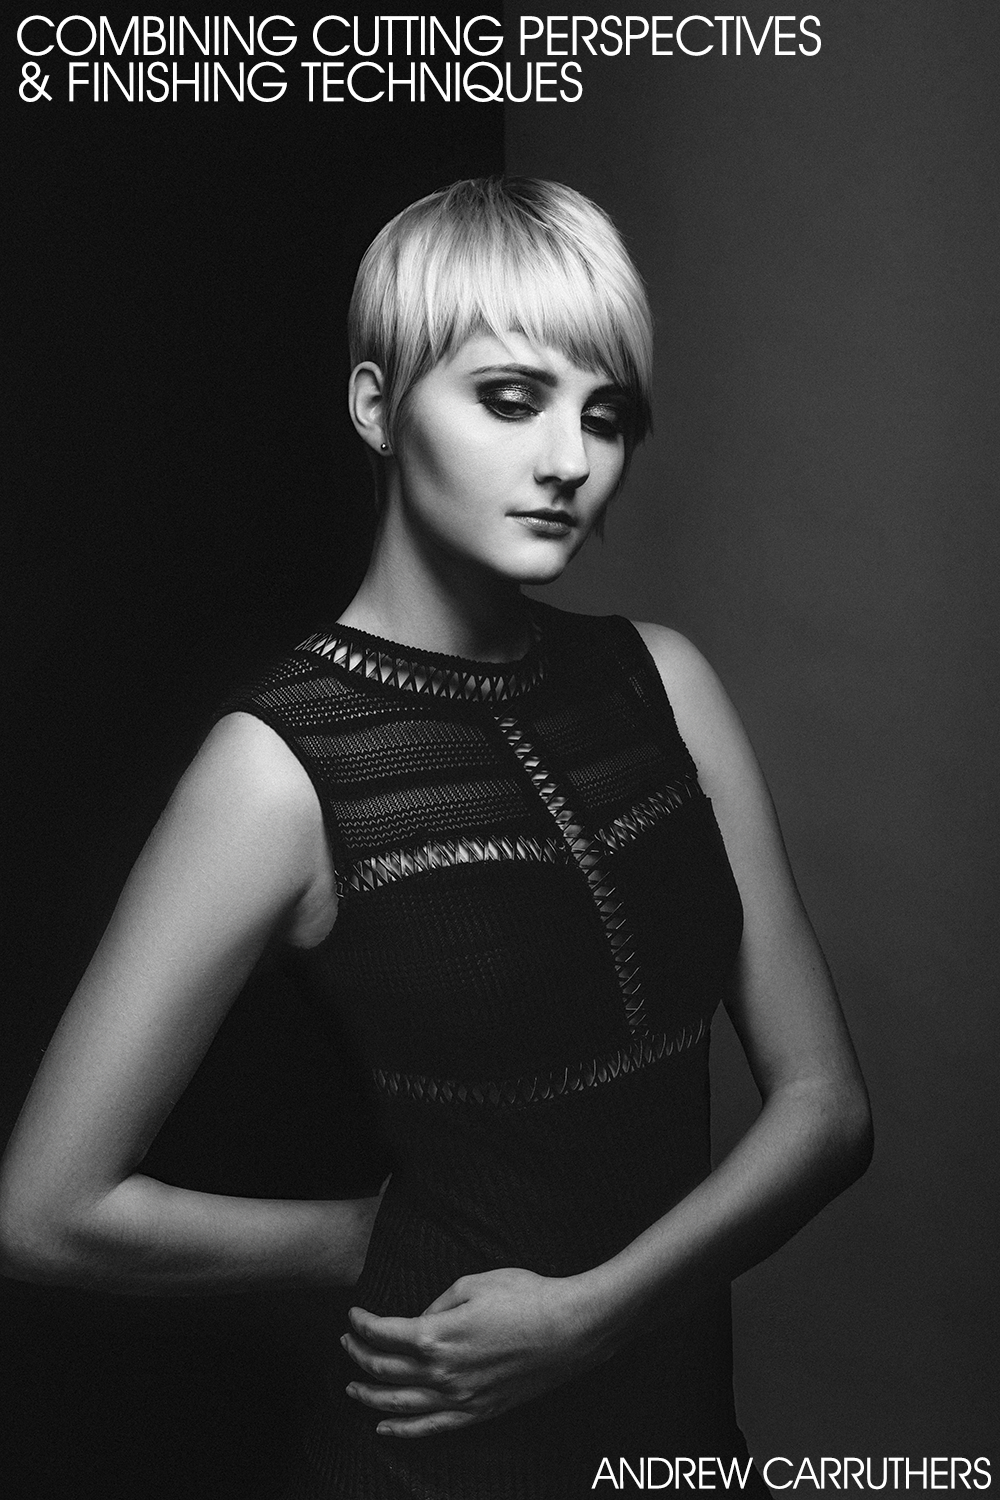
“As 2017 gains traction, the blending of disciplines within haircutting becomes a major focus and signifies a coming together of different tribes. Previously, the precision cutters, condensed cutters, free form cutters, etc., all stood firmly and separately on how things needed to be done. In today’s world, a complete shape is made up of areas of precision, areas that may be condensed, and areas that are simply visual texturizing exercises. When these are utilized with intent and purpose to get to the end result more efficiently, it not only creates excitement behind the chair, but also major value for the guest,” explains Andrew Carruthers, Director of Education for Sam Villa.
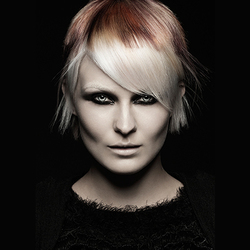
To educate you on how to bridge together these different techniques, Carruthers shows us a step-by-step as an example of the coming together of perspectives. The application of precision cutting, condensed cutting, detachment and freehand detailing culminate in a shape that has a strong foundation, incredible movement, and multiple personalities that can be shown through different finishing techniques.
Step by Step:
· Prep wet hair with Redken One United all-in-one multi-benefit treatment as a cutting lotion.
· Part off along the vertical transition of the head (sometimes referred to as parietal ridge).
· Detach a small section above the sideburn on both sides with a diagonal back section and clip out of the way.
· Take another diagonal back section just behind the detachment, overdirect forward slightly, elevate 90 degrees to the head shape, and cut a precise cutting line following the head shape with the new Sam Villa Artist Series Shear (this new shear is specifically designed for incredibly precise cuts and control in the hand while maintaining positive ergonomics).
· Continue diagonal back sections moving towards the center back. Overdirect each section forward to previous section and cut to the guide.
· Cross over the center one or two sections before switching to the opposite side of the head.
· Repeat same steps and cross back over the center back to marry two sides together without creating a corner.
· Blow dry with the Sam Villa Light Professional Ionic Dryer and Artist Series Polishing Paddle Brush to set up for detailing and texturizing.
· Detail the underneath, but leave the two detached sections for final detailing.
· Drop top section.
· Take a section from front to back over the right eye.
· Starting in the crown, elevate 90 degrees to the head shape and create a very deep peak and valley point cut with the Artist Series Shear. Follow the shape of the crown until reaching the high point of the head and then cut slightly short to long toward the face.
· Overdirect the left side to the stationary guide and repeat.
· Overdirect the right side to the stationary guide and repeat.
· Blow dry to a nice polish.
· Create a halo section in the fringe area about 1 inch back connecting to the two detached areas
· Hold the hair lightly at natural fall in the wide teeth of the Sam Villa Artist Series Detailing Comb and cut an arched line that is highest over the right eye and then detail into the detached pieces on the sides.
· Allow the longer pieces from the top to slip over the new fringe and detail with a “pinch and talk” method.
Want more tips, tricks and education? Be sure to follow @samvillahair on Instagram. And if you have any questions or tips that you would like to share please leave them in the comment box below or feel free to reach out to us on social!
Credits:
Hair: Sam Villa ArTeam;
Photographer: Shalem Kitter;
Makeup: Keri Hetfield;
Wardrobe: Carmen Nydegger.
