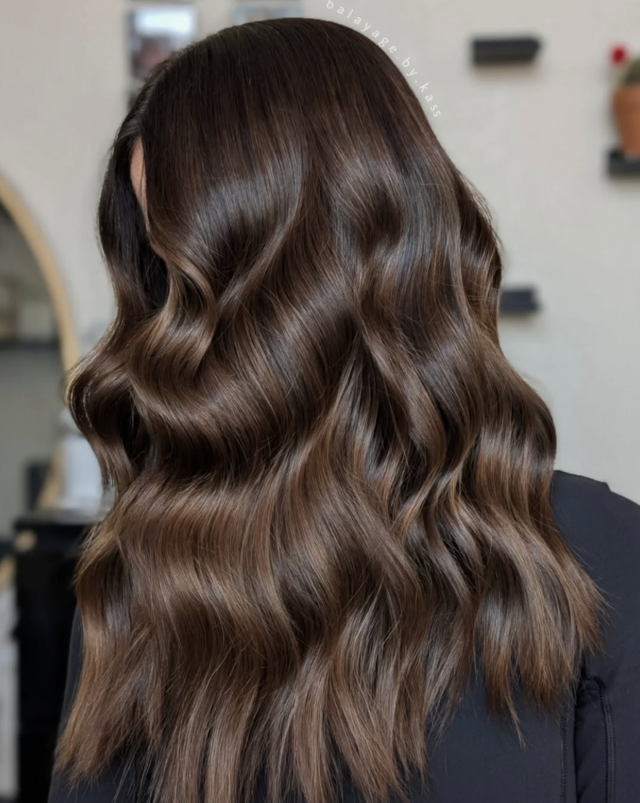
Balayage is a technique that anyone can do with a little practice and patience! Balayage is a surface highlighting technique that creates beautiful, natural highlights with lots of dimension. Transitioning a guest from foils to balayage requires a few weeks of outgrowth, usually at least 8-10 weeks. The best way to get a seamless blend is to highlight and lowlight. Your guest will have more of her natural color or “negative space” left near the base, and the highlights will be warmer than when placed in foil because you do not fully saturate the hair on both sides of the section. Think Gisele Bundchen versus Jessica Simpson. Balayage maintenance will be much less, usually 12 weeks in between visits, sometimes longer! Due to the change in placement, results, and upkeep, consultation is very important. Follow along below to see Laura Kelley-Hayes (@laurakhpaintedpixies) step-by-step balayage tutorial!
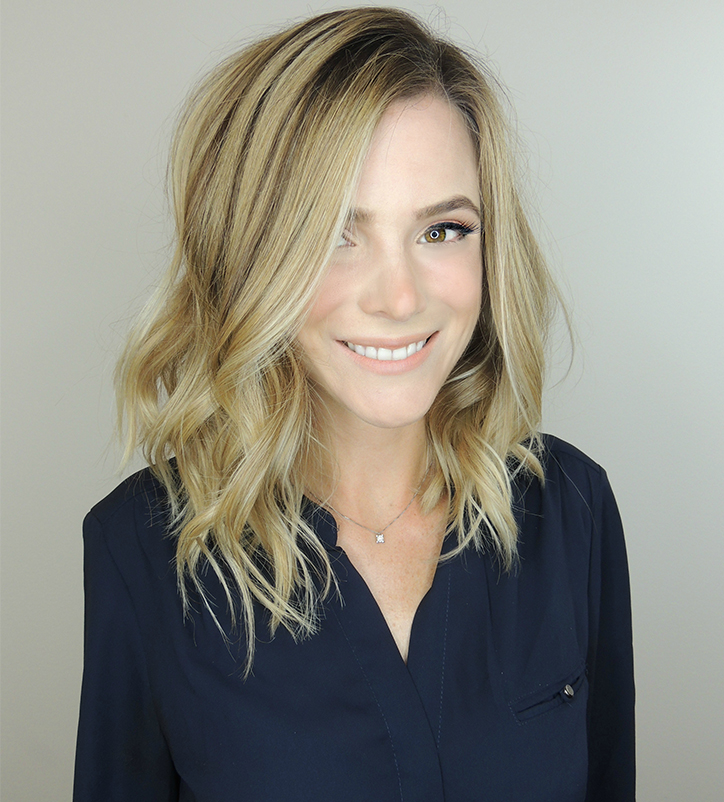
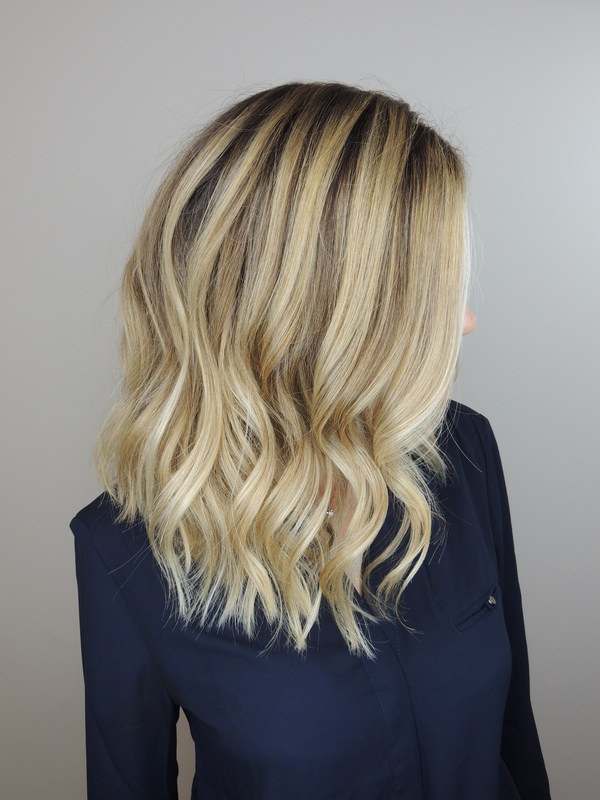
BEFORE:

STEP ONE:
- Gather your tools. I prefer a clay lightener (specifically made for balayage), a paddle, gloves, cotton strips, clips, and apron, perforated plastic and a towel to keep my brush clean.
- Formulations: Keune Bond Fusion Number 1 mixed into each formula
Highlight: KEVIN.MURPHY CLAY.LIGHTENER with 30, 35, 40 volumes mixed to a greek yogurt like consistency (about 1:1.5)
Lowlight: Keune Semi Color 5.23 (10g) + clear (20g) + semi activator (45g)
Toner:
Formula A: Keune No-Lift Semi Color 7.2 (30g) + semi activator (45 g)
Formula B: Keune Tinta Color 10.21 (20g) + 0/11 (2 inches) + 10 volume (40g)
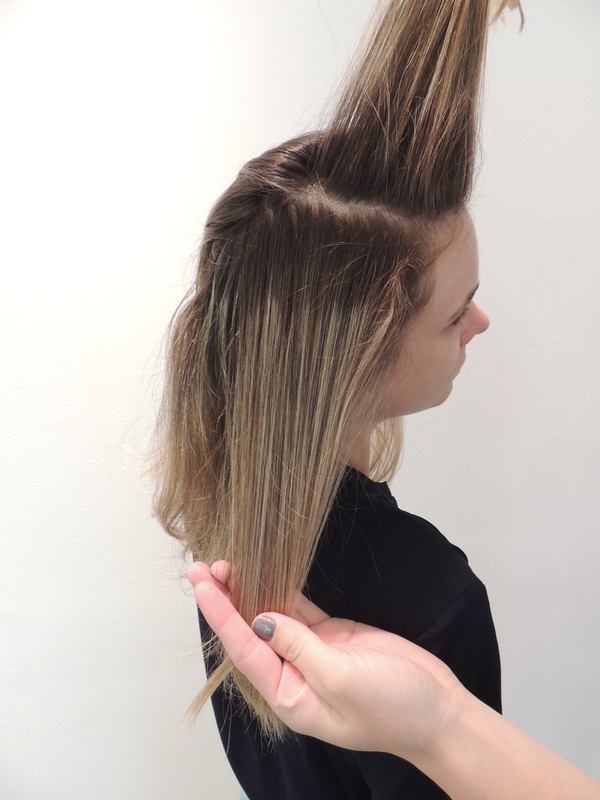
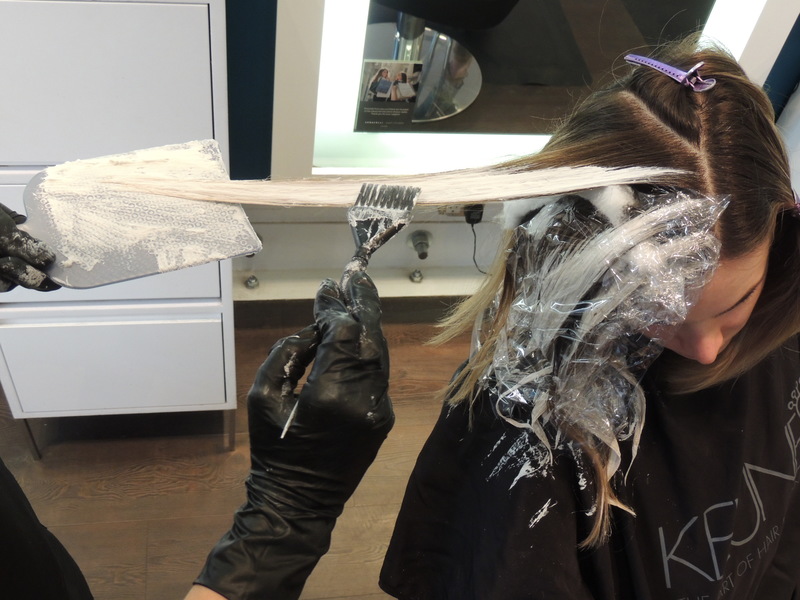
STEP TWO:
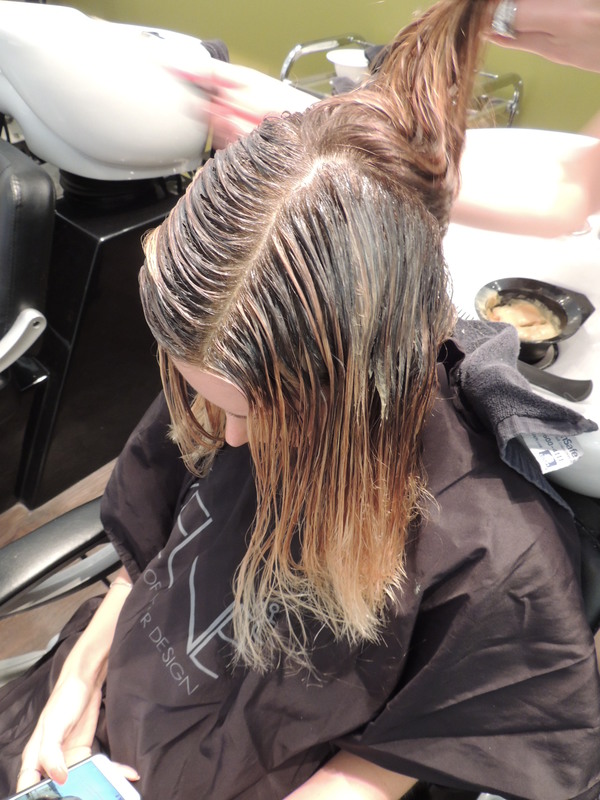
Section diagonal back sections starting over the ear. Create a large triangle section, elevate 45 degrees from the head. When applying the lightener, be sure to use light pressure so the product stays only on the surface of the section. To start, start placing the product in the mid-strands, then work the lightener up toward the top of the. Slightly feather the lightener near the face to create a soft grow out. Put your “point of light” closest to the face, then gently widen the point away from the face to create maximum coverage on the mid-stands and ends. Saturate the last 1/3 of your section, both top and bottom. This creates more coverage on the ends, and less near the scalp allowing for the most natural grow out. Apply the product evenly and consistently for best results. Place plastic over each section to incubate the lightener. (You will do the same sectioning on both sides.)
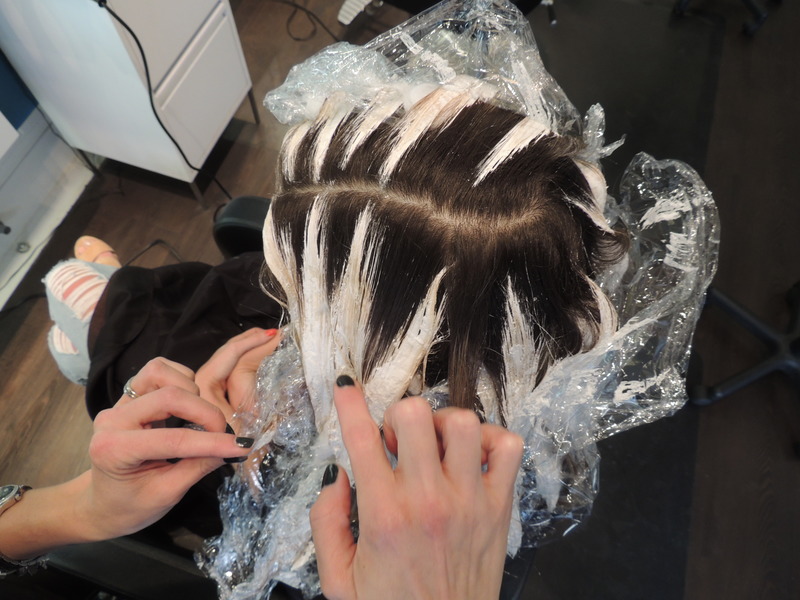
STEP THREE:
Add the lowlight. Subsection your diagonal back panel, and place the lowlight underneath the highlight. Saturate the lowlight fully for the best result. I prefer to do this before I put in the highlight. Be sure to isolate with cotton and/or plastic to ensure the low-light doesn't bleed onto the highlights.
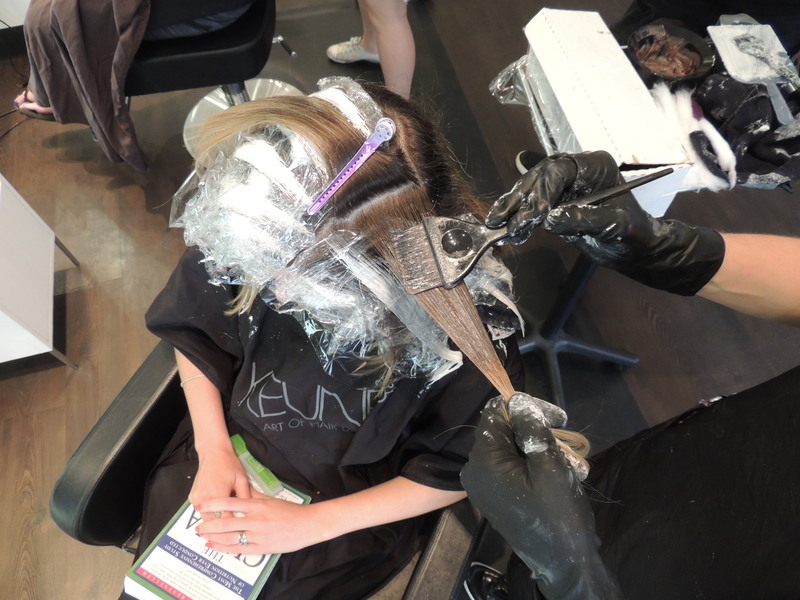
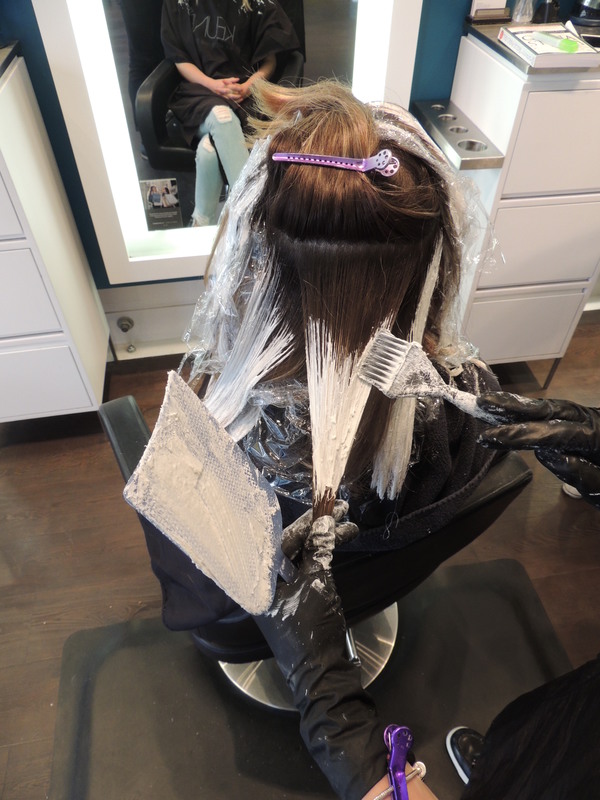
STEP FOUR:
Continue working up the head shape using diagonal back sections. Put the point of light at the top of the section near the part line, then widen your highlight panel as you move away from the part.
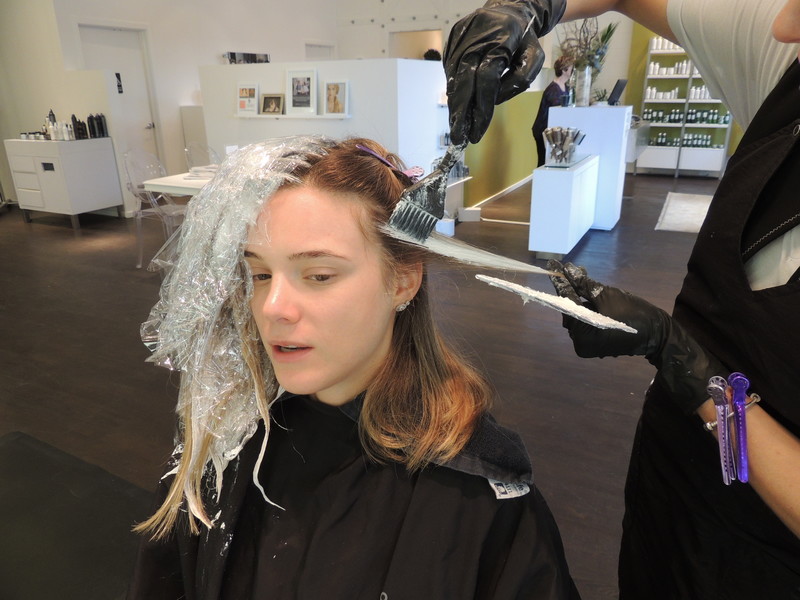
STEP FIVE:
Highlighting the nape. Elevate the hair to apply points of light on the underside of the first section. This ensures the color will be on the surface when the guest pulls her hair up.
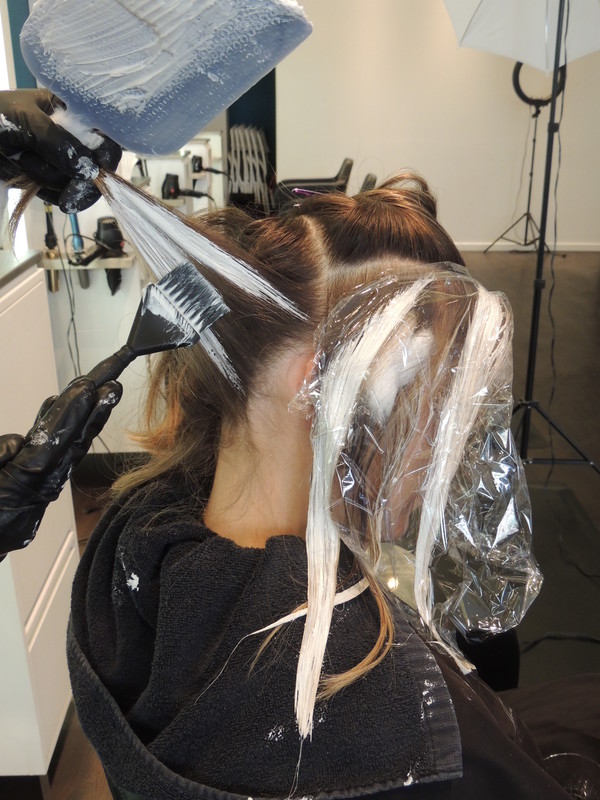
STEP SIX:
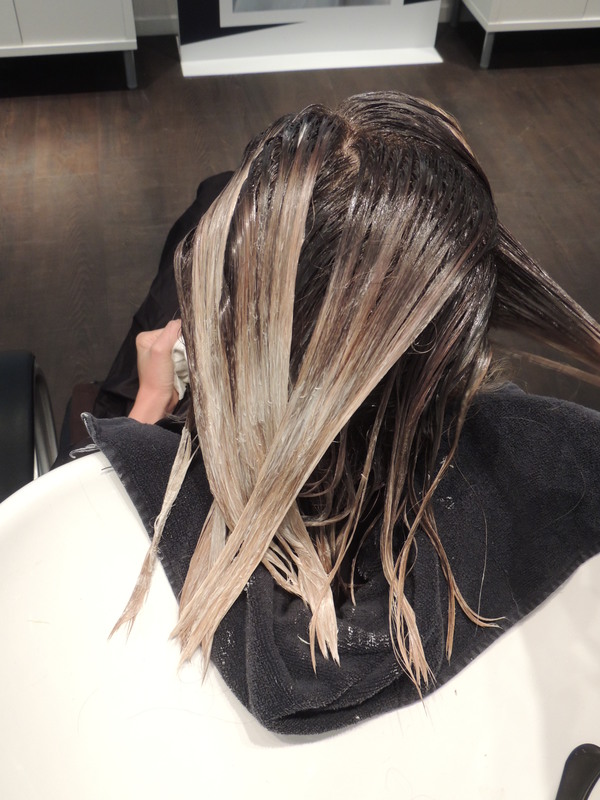
Finish applying to the back. Take diagonal sections on the sides, then horizontal to connect them. Work up to the crown to complete the back. Isolate everything with plastic. Fewer lowlights are necessary in the back.
STEP SEVEN:
Process 30-45 mins until desired lightness has been achieved. Scrape off some of the lightener with your finger to determine the level of lift. The result will be warm.
STEP EIGHT:
Root Shadow Toning. Thoroughly clean the bleach and color from the hair. Towel dry well to assess achieved lightness level. When formulating for a root shadow, choose at least 2-3 levels darker for base color.
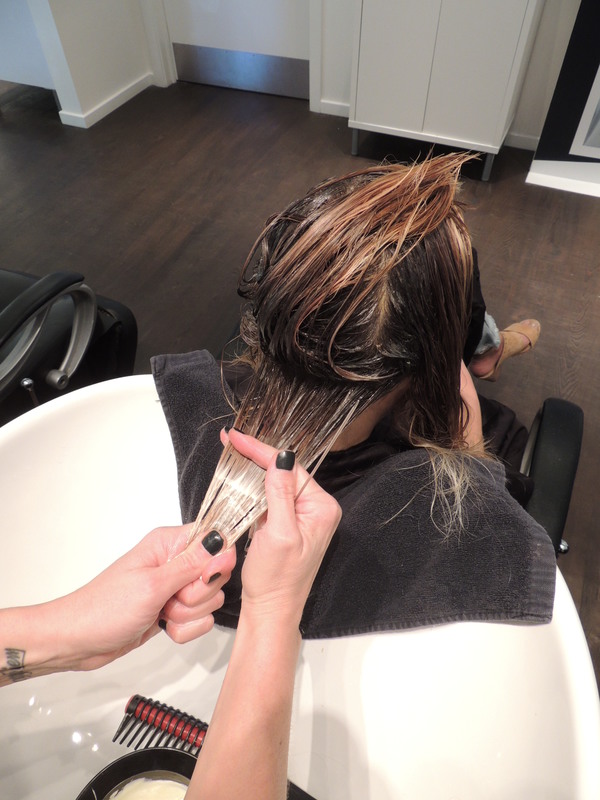
Apply Formula A first using diagonal back sections starting at the front hairline. Create a shallow root near the front, deeper as you move toward the back. Use herringbone sections throughout the back to apply Formula A. Drag Formula A down to around the parietal to the crown. When finished applying Formula A, start in the nape and apply Formula B. Place Formula B 1” away from Formula A, then the saturate ends. Use your fingers to blur the two formulas together. Wipe hands in between. Continue the application moving toward the face, putting formula B higher up as you move forward. Process for 15 mins once Formula B had been applied in full.
STEP NINE:
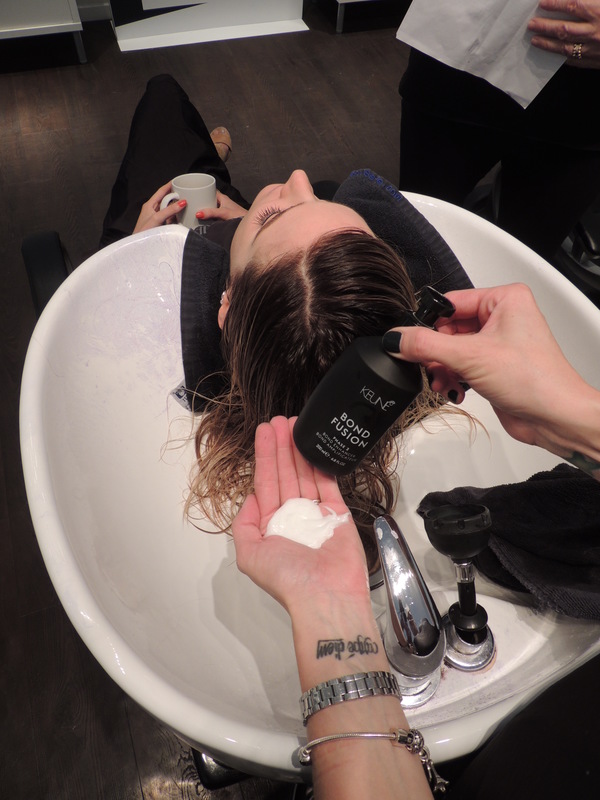
Apply Keune Bond Fusion Number 2 to shampooed and towel dried hair. Process at least 5 minutes, rinse.
STEP TEN:
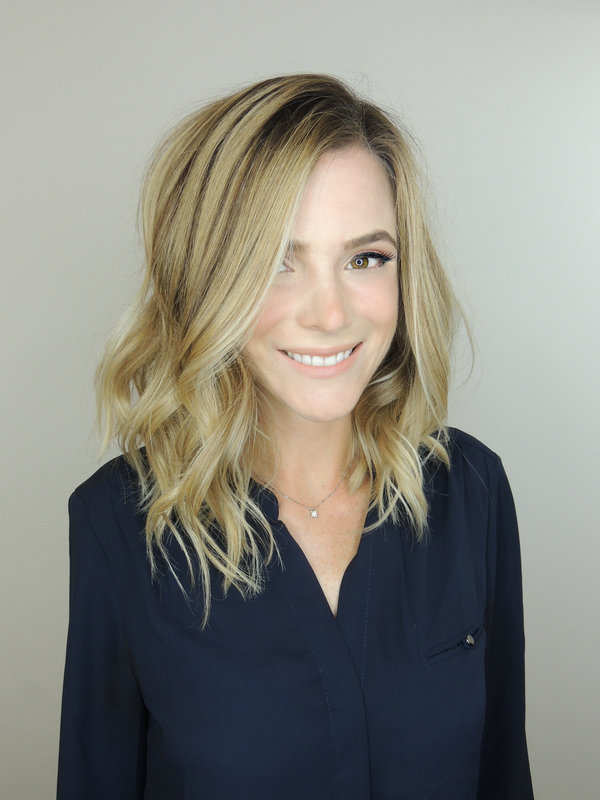
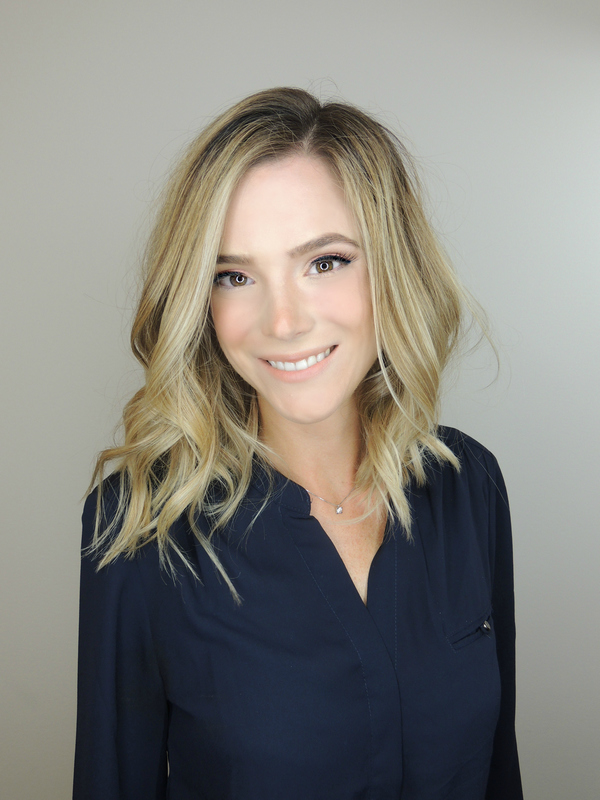
Blow dry using Keune Care 2-Phase Keratin Smooth Spray, Keune Design Straight Cream, and Keune Design Brilliante Gel. Curl with a 1 ½” barrel curling iron in alternating directions. Comb through curls when cooled with fingers and apply Keune Blend Gloss Spray to ends. Send guest home with Bond Fusion Number 3 for weekly at home maintenance.
Looking for more hair trends, tips and color techniques? Keep scrolling.